In the information age, people spend long hours staring at monitors, typing on keyboards, and hunching over desks. This leads to widespread cervical vertebra disease. Don’t worry. You can improve your posture with a simple monitor arm on your existing fixed-height desk.
Monitor arm installation can transform your workspace, providing flexibility, saving desk space, and enhancing ergonomics. Whether you're a tech lover or a beginner, this step-by-step guide will walk you through the installation process. Let's get started!
What is a Monitor Arm?
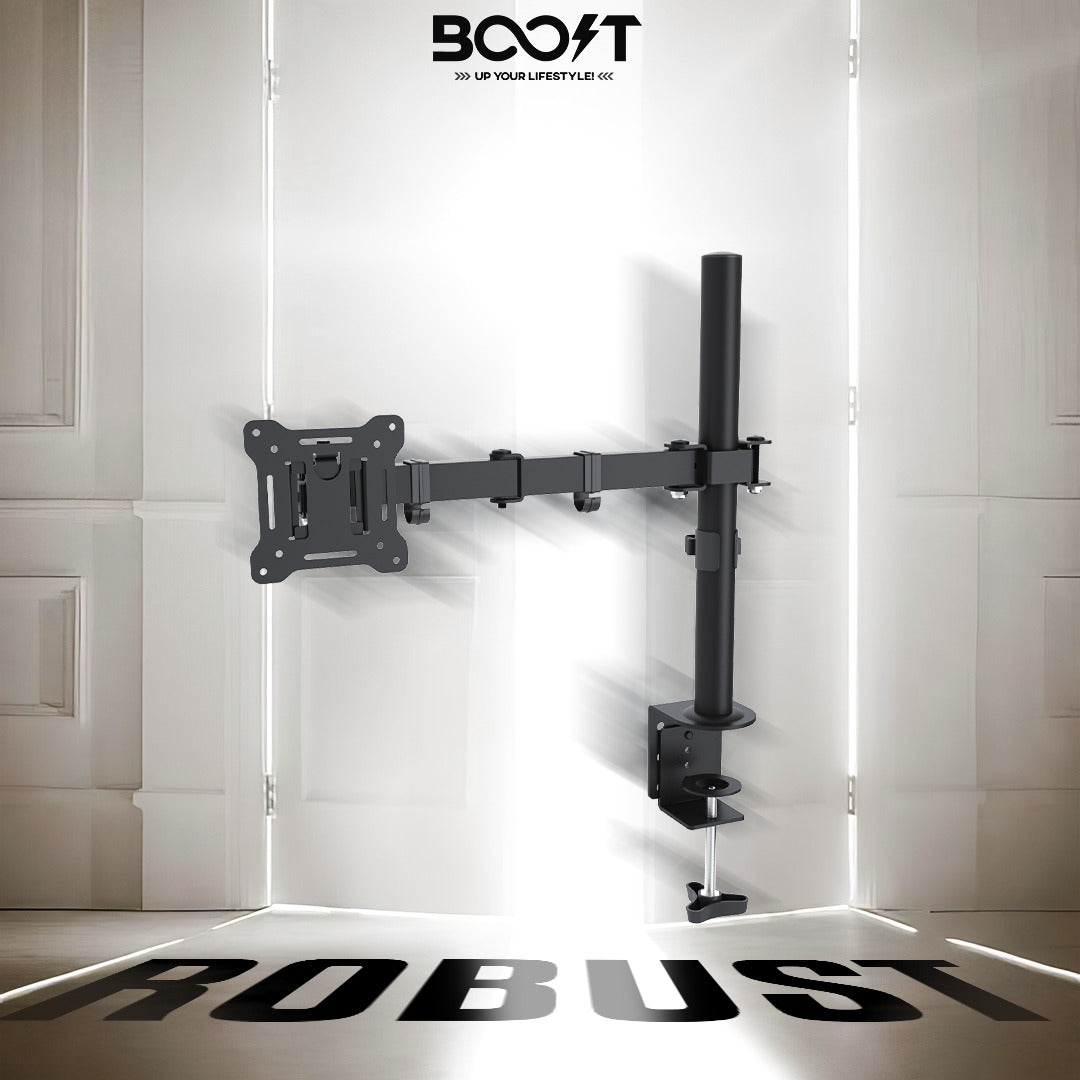
A monitor arm is a mechanical device that supports and improves a computer monitor off the desk surface. It normally attaches to the desk through a clamp or grommet mount and provides a range of adjustments, including height, tilt, swivel, and rotation.
In Pakistan, the price of a monitor arm can vary depending on the brand, design, features, and quality. You can find monitor arms in a range of affordable options to more premium models. To get the best monitor arm price in Pakistan, it's advisable to compare prices from different retailers or online stores.
Why Install a Monitor Arm?
Before we dive into the monitor arm installation, let's briefly discuss why you might want to install a monitor arm:
Improved Ergonomics
Adjusting the height and angle of your monitor can reduce strain on your neck, back, and eyes.
More Desk Space
A monitor arm frees up valuable desk space by lifting your monitor off the surface.
Flexible Viewing Angles
Easily swivel, tilt, and rotate your monitor to the perfect position for different tasks.
Step-by-Step Guide for Monitor Arm Mounting
Now, let's get started with the monitor arm installation!
Step 1: Gather Your Tools and Equipment
- To install a monitor arm, you’ll need the following tools and equipment:
- Monitor arm kit (includes arm, mounting hardware, and screws)
- Screwdriver (Phillips or flathead, depending on the screws)
- Allen wrench (usually provided with the monitor arm)
- Desk clamp or grommet mount (depending on your desk setup)
- Your monitor (make sure it is VESA compatible)
Step 2: Check VESA Compatibility
Most monitor arms are designed to fit VESA-compatible monitors. VESA (Video Electronics Standards Association) compatibility means your monitor has four screw holes arranged in a square pattern on the back. Common VESA sizes are 75x75 mm and 100x100 mm. Check your monitor's manual or look for the screw holes on the back of your monitor to ensure compatibility.
Step 3: Choose Your Mounting Option
Monitor arms commonly offer two mounting options: desk clamp and grommet mount. Pick the option that matches your desk.
- Desk Clamp: A desk clamp attaches to the edge of your desk. It's ideal if you don’t want to drill holes in your desk.
- Grommet Mount: A grommet mount fits through a hole in your desk, providing a secure and stable installation. This is a good option if your desk has a pre-drilled hole or if you’re comfortable drilling one.
Step 4: Attach the Mounting Bracket to Your Desk
For Desk Clamp:
- Follow the instructions provided with your monitor wall mounts to assemble the desk clamp.
- Place the clamp at your desired location on the edge of your desk.
- Use the screw or knob to tighten the clamp securely to your desk. Ensure it’s stable and doesn’t wobble.
For Grommet Mount:
- Look for the pre-drilled grommet hole on your desk. If it doesn’t have one, drill a hole according to the size specified in the monitor arm instructions.
- Follow the instructions to assemble the grommet mount.
- Insert the grommet mount through the hole and secure it using the provided screws and hardware. Tighten it to ensure stability.
Step 5: Attach the Monitor Arm to the Mount
- Align the base of the monitor arm with the mounting bracket (desk clamp or grommet mount).
- Use the provided screws and Allen wrench to secure the monitor arm to the mounting bracket. Tighten the screws until the arm is firmly attached.
Step 6: Attach the VESA Plate to Your Monitor
- Find the four VESA mounting holes on the back of your monitor.
- Align the VESA plate (part of the monitor arm kit) with the mounting holes on your monitor.
- Insert the provided screws through the VESA plate into the mounting holes. Use a screwdriver to tighten the screws securely. Ensure the plate is firmly attached to your monitor.
Step 7: Attach the Monitor to the Arm
- Carefully lift your monitor with the VESA plate attached.
- Align the VESA plate with the corresponding bracket on the monitor arm.
- Depending on the monitor arm desk mounts design, you may need to use screws or a quick-release mechanism to secure the monitor to the arm. Adhere to the guidelines provided by the manufacturer for this particular step.
Step 8: Adjust the Monitor Arm
Once your monitor is attached to the arm, you’ll need to adjust it to your preferred position:
- Raise or lower the monitor to eye level. This helps prevent neck strain.
- Adjust the tilt and swivel of the monitor to reduce glare and find the most comfortable viewing angle.
- If your monitor arm allows it, you can rotate it to portrait mode for tasks like reading or coding.
Step 9: Manage Cables
To keep your workspace tidy, manage the cables running from your monitor:
- Use cable clips or ties to bundle and secure the wires along the monitor arm.
- Some monitor arms come with built-in cable management channels. Use these to route the cables neatly.
Step 10: Final Checks
Before you start using your newly installed monitor arm, perform a few final checks:
- Ensure the monitor arm and monitor are stable and securely attached. Ensure there is no shaking or instability.
- Make final adjustments to the monitor’s position, height, and angle.
- Sit at your desk and check that the monitor is positioned comfortably for your posture and work habits. These final checks are essential for ensuring the stability and comfort of your workstation setup, enhancing your overall experience with computer accessories.
By and Large
Installing a monitor arm can enhance your workspace by improving ergonomics and freeing up desk space. By following these step-by-step instructions, you can easily install monitor mounts in Pakistan and enjoy the benefits of a more flexible and comfortable working environment. Grab your tools, and and make your workday a whole lot more comfortable.
Are you searching for the best monitor arm in Pakistan? Look no further than the Boost Robust Monitor Arm. With versatile mounting options, durable construction from Cold Rolled Steel, and dynamic adjustments for ergonomic comfort, it's the perfect solution for your workspace needs. Our monitor arm supports screens from 10” to 32″ and offers universal VESA compatibility; the monitor arm ensures a clutter-free setup with integrated cable management.
Upgrade your desk experience with the Boost Robust Monitor Arm today.


